How to manage a Procurement Request
To manage all requests
Go to the Procurements > Click on All Requests > Click on the of the particular request > Here you can manage the request. (Refer section 16.1) for the workflow.

After clicking of view icon you see this details page.procurement team can assign incharge, after assign incharge, incharge select spplier and supplier send quotation if supplier given login access
Notes: If you created a Procurement Request and selected 'Not Required' for Authority Approval, then step 5 will be skipped.
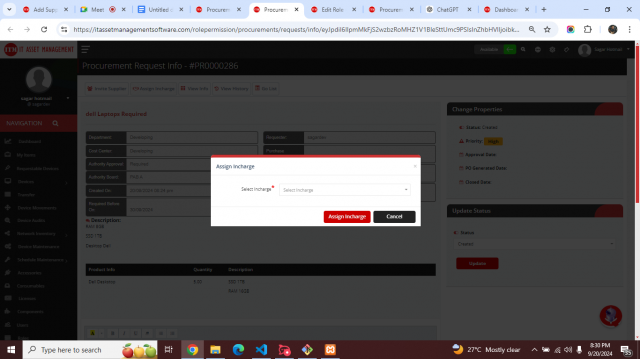
Step 1 : Click Assign In-charge and select incharge 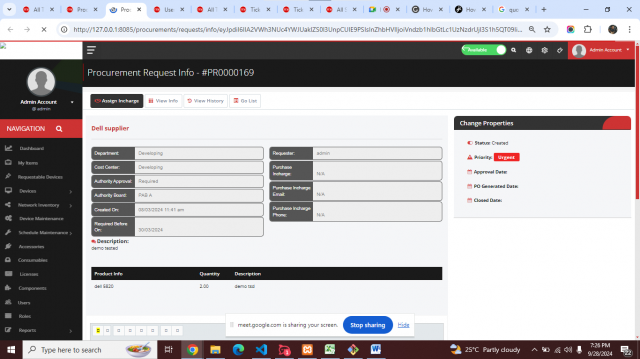
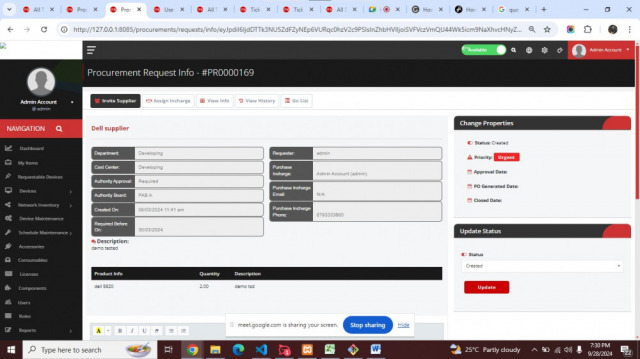
 Step 2 : Click Supplier and Select supplier if create supplier login to upload quotation? check box enable then supplier create credentials and send to supplier
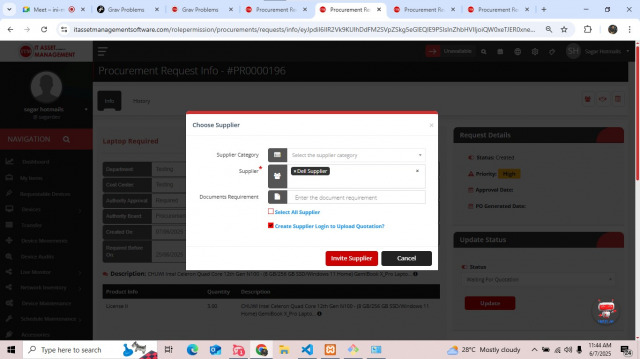
- Select suppliers if user wants to add supplier
- If user wants documents require from supplier
- User also selects all suppliers
- If supplier wants to own login then click create supplier login to upload Quotation
- After filling form invite supplier and then change status waiting for quotation
Step3 : Update status Waiting for quotation after see supplier update quotation Option
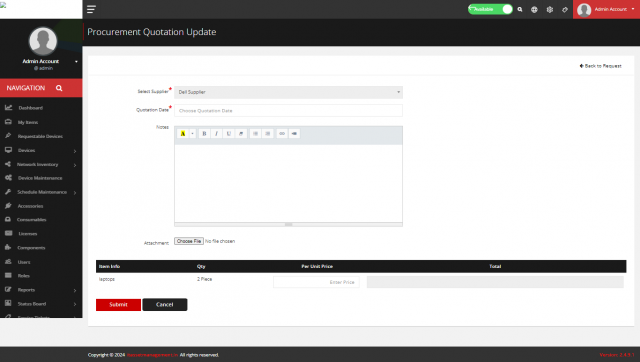
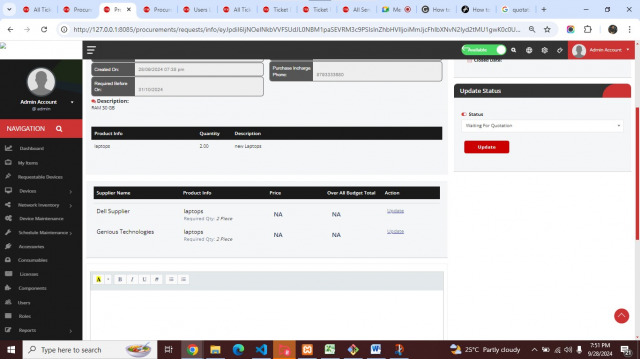 Step4 : If supplier update button click then supplier can feel form
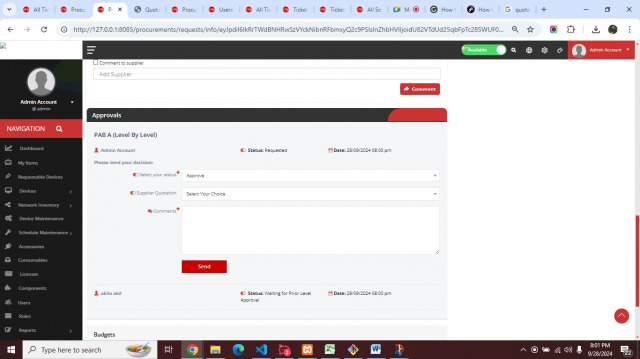
  Step5 : Update status PAB Approval l after see bottom Approval Board of Member
  Step6 : If all (PAB) Approve request accept then procurement team Incharge show Po Generated Option Top head
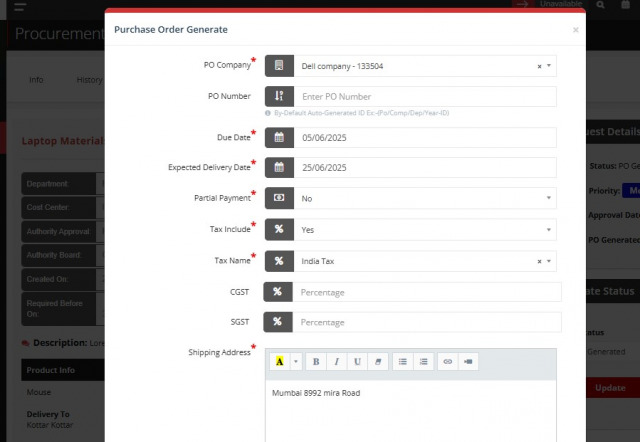
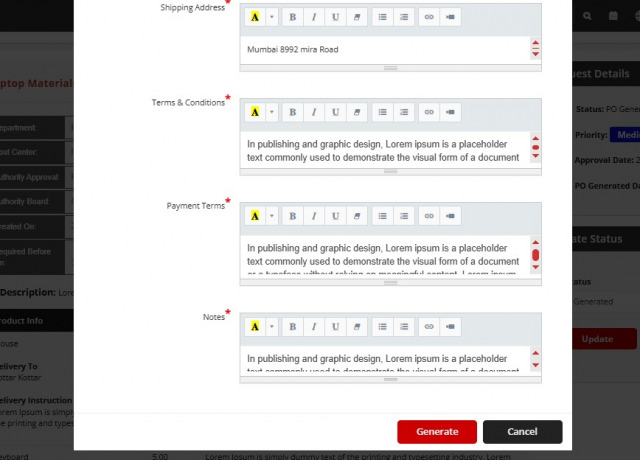
- Purchase in charge create purchases order
Step7 : If user want to Print they can print option top head this option show selected supplier and procurement team 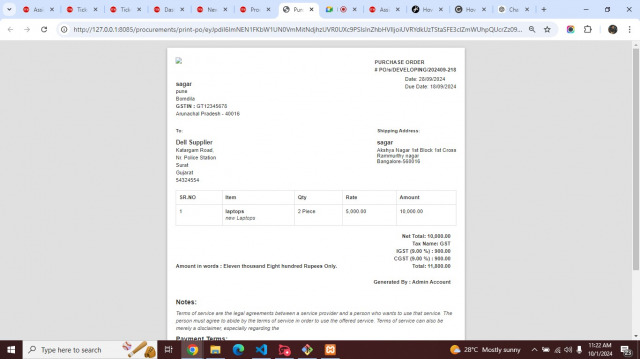
Step8 : After purchase order competed then change status Waiting for delivery user can show delivery tab 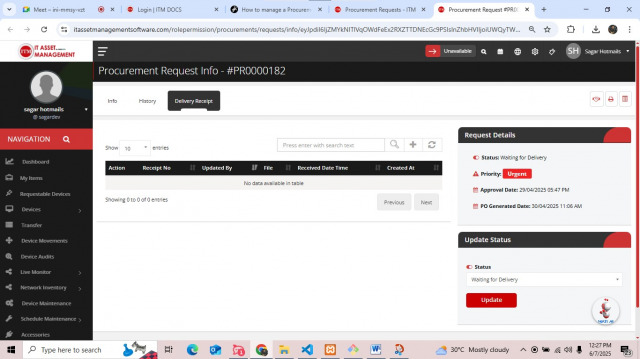
After showing delivery receipt user can add delivery receipts 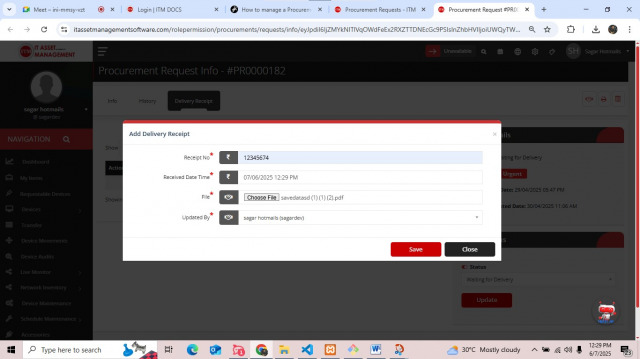
User can see delivery receipt listing page 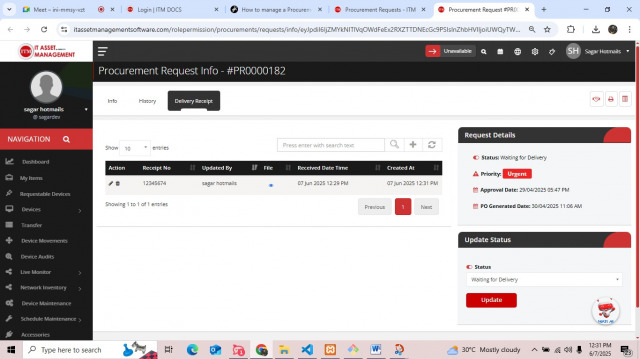
- User can edit own records and also deleted record
- Purchase in charge also add edit delete record own and behalf the user
Step9 : After Delivery Status a then change status Waiting for Invoice user can show Invoice tab 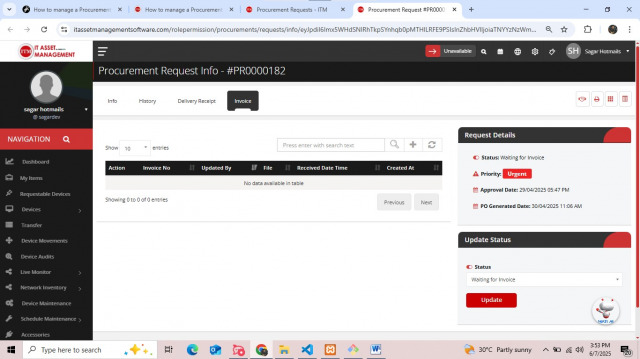
After showing Invoice user can add Invoice receipts
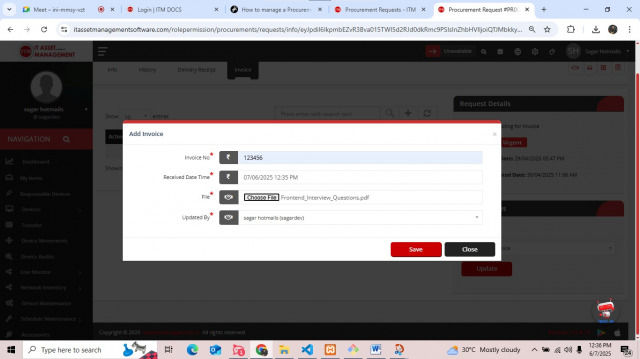
User can see Invoice receipt listing page
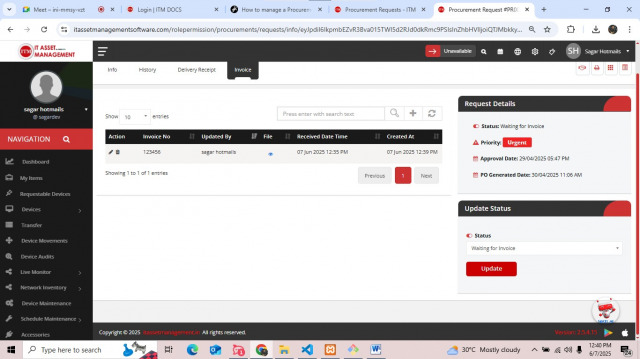
- User can edit own records and also deleted record
- Purchase in charge also add edit delete record own and behalf the user
Step10 : All operation perform user can updated status closed and select final delivery date and process is completed 